
This article will explain how to install an Ember-Resistant Vent Panel for a foundation (ground level) vent, sized 6x18.
What You’ll Need
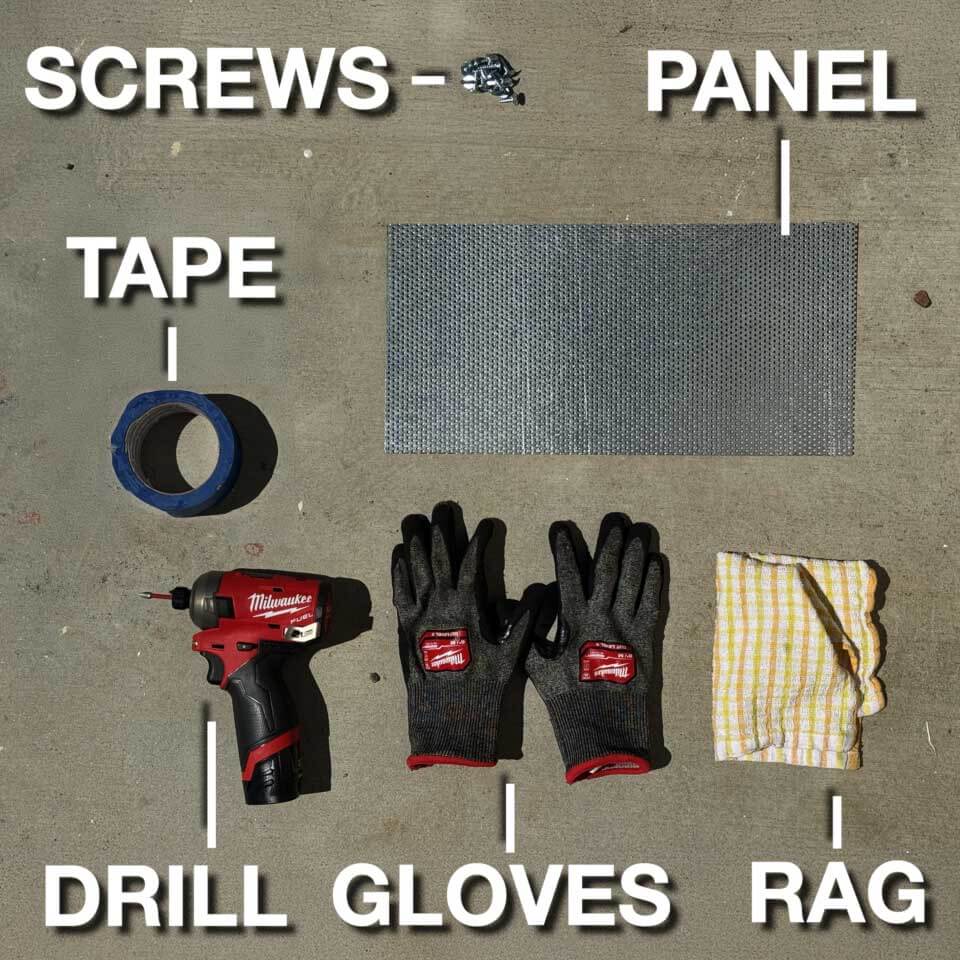
- Ember-resistant vent panel (6x18" size, galvanized zinc)
- Self-tapping metal screws (ideally matching the panel finish)
- Impact drill, or screwdriver
- Protective gloves
- (Optional) Painter's tape for positioning
- Rag or cloth (for cleanup)
Step-by-Step Instructions
Preparation
- Locate the vent: Identify the ground floor vent you’ll be upgrading. If it currently has a louvered vent cover, you’ll remove it first (see screenshot for example).
- Gather your tools: Lay out your screws and drill so everything’s within reach.
1. Remove the Old Vent Cover
- Use your impact drill or screwdriver to remove the screws from the existing vent cover.
- Set the old cover aside. In many cases, you may reinstall it over the new panel for a finished look.
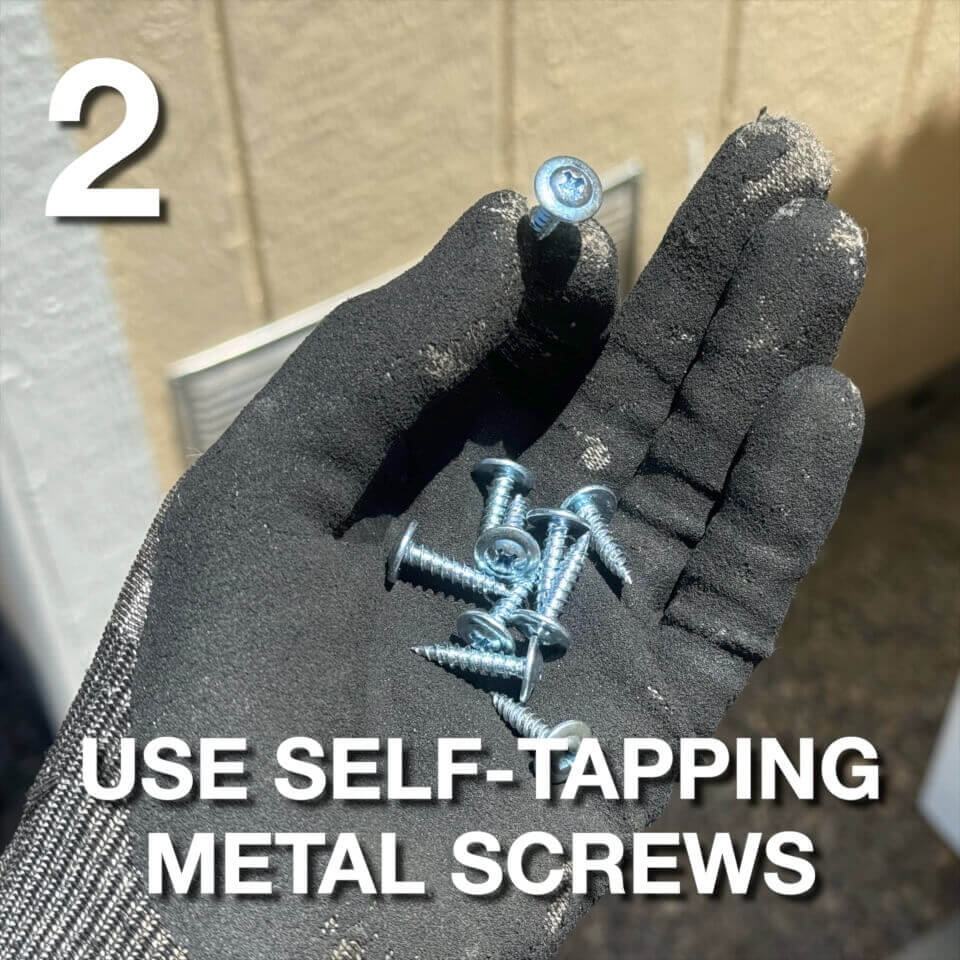
2. Choose the Right Screws
- Use self-tapping metal screws; these are best for attaching the new vent panel, especially if you’re going into metal or wood siding.
- Avoid mismatched finishes (don’t use black screws with a silver panel, for example).
3. Position the Ember-Resistant Panel
- Place the new ember-resistant vent panel over the opening, aligning it with the old screw holes if possible.
- Make sure the panel sits flat against the wall. If it’s slightly bent, gently flex it to flatten.
- Tip: If working alone, you can temporarily hold the panel with your foot (as shown in the images), but painter’s tape is cleaner and leaves no marks.
4. Install the Panel
- Insert screws through the panel’s four corners first. Reuse existing holes if they line up—this ensures a neat, symmetrical look.
- Next, install additional screws in the middle edges for extra support. This helps prevent air gaps and keeps embers out.
- Make sure the panel is snug all around, with no loose edges.
5. Check for Gaps and Clean Up
- Wipe off any dirt or marks left on the panel or wall.
- Double-check that there are no gaps around the panel’s perimeter. Add more screws if needed.
6. (Optional) Reinstall Original Vent Cover
- For the most professional look and extra protection, reinstall the old louvered vent cover over your new ember-resistant panel.
Final Tips
- Aesthetics: Try to use evenly spaced screws and align with existing holes for a cleaner finish.
- Best Practices: Don’t use your foot to hold the panel if you can avoid it; tape is better and keeps things tidy.
- Safety: Make sure the panel is secure, with no gaps that embers could get through.
What’s Next?
You’ve now added a layer of wildfire protection to your property! Repeat this process for other ground-floor vents.
If this was a final install, you’d cover the ember vent panel with the original vent for the best look and performance.